In this post, I’m going to show you how you can easily leverage the power of Views 2 to create a simple block that displays “Related Posts by this Author” information. To break it down, here’s exactly what we need to do: when a user has navigated to a specific node, we want to use that node author's user ID as a key to load other posts by that author.
Sure, you could use a PHP block to accomplish this, but that would require some pretty serious knowledge of PHP/MySQL, not to mention how to securely make database calls within Drupal. There are loads of PHP snippet posts on Drupal.org for this kind of thing, but why waste time hand-coding, when Views 2 makes this all a piece of cake? And seriously, it is a piece of cake once you get a general idea of how it works.
Technical Requirements
To get started, here’s what you’ll need:
- Drupal 6 (I’m using 6.10 in this tutorial)
- Views 2 (I have 6.x-2.3)
- Multiple users with associated nodes (I used the Devel module to generate users and nodes for this demonstration)
Alright, let's do this!
Once you’re ready to get started, head over to the Views home page at /admin/build/views.
1. Create a New View
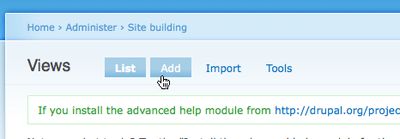
Create a new view by clicking the “Add” tab at the top of the page
2. View Settings
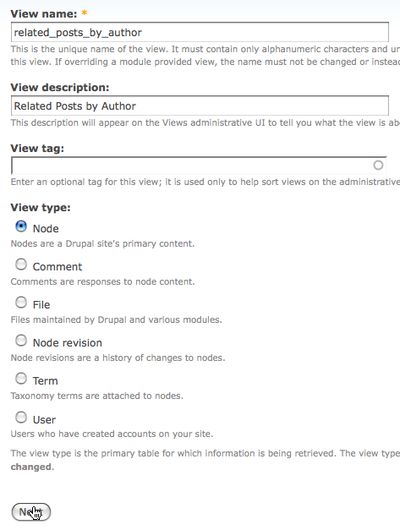
Name this new View: ”related_posts_by_author”. For the description, call it something like “Related Posts by Author”. The view tag field is optional – use it as needed. The most important part of this first screen is to select ”Node” as the View type.
3. Add Fields to the View
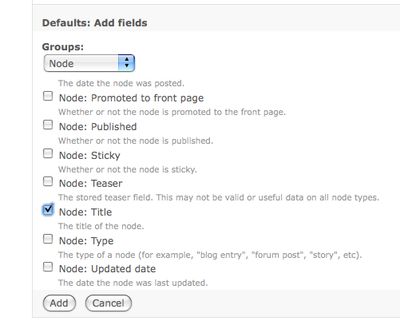
Now let’s set up our defaults for this view. I like to start by adding a “Field” so that Views does not yell at me. Choose “Node” from the dropdown and then scroll to Node Title, check that box and click “Add”. On the screen that follows, remove the default label text and select “Link this field to its Node”. Click Update.
4. Add Filters to the View
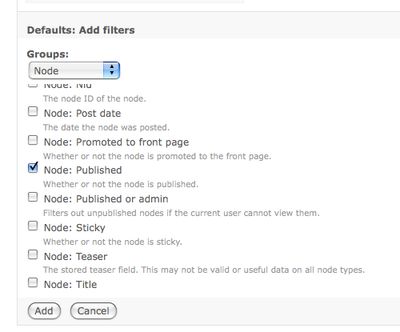
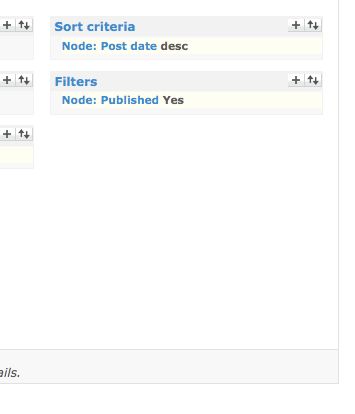
Now that we have some output, let’s start filtering this down. Click on “Items to display”, adjust to a number that suits your needs. I went with 5. Next, let’s add a filter that will return only “Published” nodes. Click the plus under “Filters”. Choose “Node” from the dropdown, then select “Node: Published” and click “Add”. Choose “Yes” on the corresponding screen and click “Update”. Add any other filters you need here as well, such as “Node: Type”, or “Node: Promoted to front page” – you get the idea.
5. Sort Parameters
I added a “Sort Criteria” to display nodes sorted by their “Post Date”.
6. Arguments
Now that we have some decently filtered output and our Views Defaults set up, let’s get to the heart of this tutorial. How do I tell Drupal to only load posts by the current author? This is where “Arguments” come into play. Basically, we need to tell Views to only include nodes that have the same user ID as the user who created the current node. “Arguments” will allow you to pass that value into your query and match it against the values you are pulling.
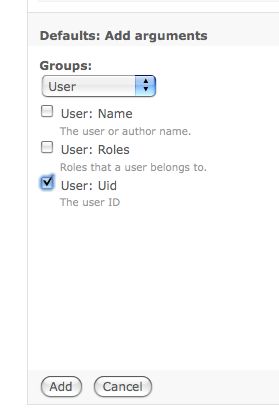
- Start by adding a “User:Uid” Argument.
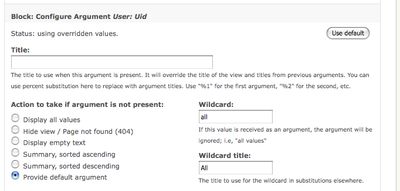
- On the following screen, leave the “Title”, “Wildcard” and “Wildcard Title” fields at their defaults.
- Choose “Provide Default argument” from the “Action to take if argument is not present: ” options. This will allow you to load in your own values.
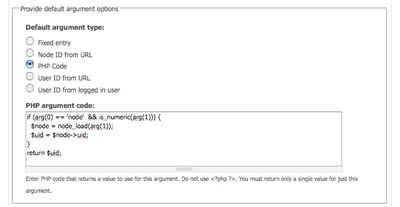
- Next, choose “PHP Code” from the options under “Default argument type: ”. This will let us use our own PHP to grab the User ID from the current node.
- Now for the magic: Enter the following code into the “PHP argument code: ” textarea.
if (arg(0) == 'node' && is_numeric(arg(1))) {
$node = node_load(arg(1));
$uid = $node->uid;
}
return $uid;- Basically, this code first checks the current URL to make sure it matches as a node page. It then loads the current node with the “node_load();” function using the node id from the URL. Then it sets a variable with the User ID as its value ($uid = $node->uid;). Finally, it returns this value to the view. Leave all other settings at their defaults. Click “Update” to save this argument.
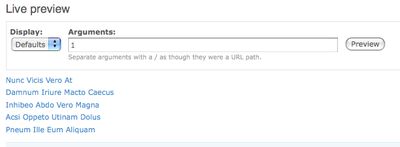
- Note: By default, no User ID is passed to the view, so your preview will show “No query was run.” To check and see if your argument is working enter a User Id into the “Arguments: ” field and click “Preview”. You should then see posts from that user only.
7. Add a Block Display
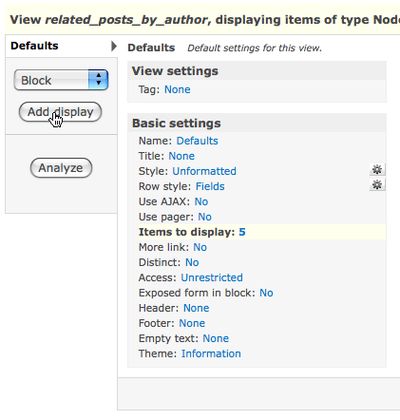
Now that we know our view is accepting the dynamic parameter, all that’s left is to expose this view as a block. Simply choose “Block” from the left most drop down and click “Add Display”. This will use all of the defaults that we’ve already set up.
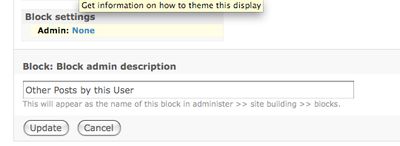
Next, give this block a name by clicking the link under “Block Settings” and modifying the form that follows.
8. Last But Not Least...
Finally, Save your view. Add your block to the pages you need at “admin/build/blocks” and you’ll be in business.
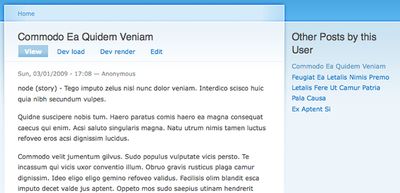
That’s it – you now have a dynamic “Related Posts by this Author” block, created with Views! Nice job!
Got any questions?
If you have any question about this Drupal tutorial, please leave a comment below and we'll help you out!


